
basically what you are doing is replacing the original stock analouge trackball with the the
guts of a optical mouse...and let me tell you...it is sweet better control.....more precision....smoother...
not to mention the ease of making it work.....thats what it is all about...
so check it out....
the ingredients i used for this mod are:
one working Panther XL
one working Microsoft Intellimouse Optical(5-button works best)
tube of super glue
tube of clear silicone
razor knife
rough and fine sandpaper
a dremel (this thing is like a magic wand)
here are some pictures of the various steps....
the deciding moment
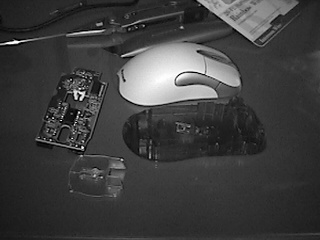
step one
is to take the mouse apart . start by removing the mouse feet and removing the screws under them the mouse will then come apart (with a little convincing...lol)
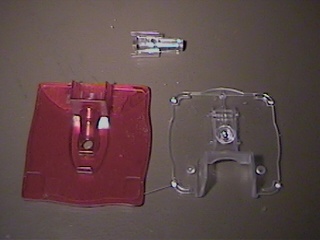
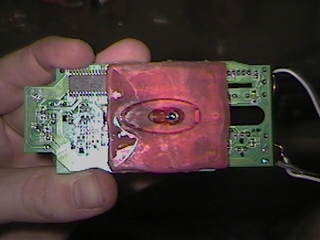
step two
is to render the red piece until it looks like this. if you look carefully there will be a slight outline for you to follow. be very careful not to butcher the focusing plate.
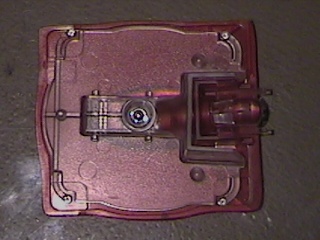
step 3.
is to glue the two pieces together...DONT GLUE THE LONG CLEAR PLASTIC PART!!! JUST THE TWO FLAT PIECES!!!
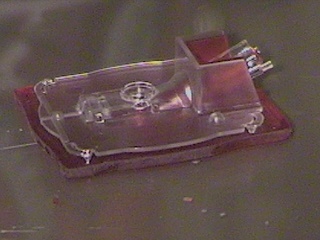
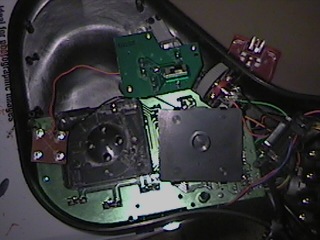
Step 4.
Now that you have the above stated steps done you can begin the finishing steps.... take the revamped mouse plate you made in step three and using silicone, adhere it to the mouse circuit board as shown (you can solder on to the mouse buttons and use them adding more buttons to the XL, hence the two wires which will be soldered to buttons)

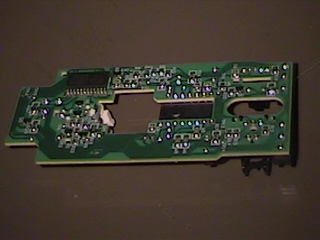
step 4.
now over to the Panther XL. you will need to remove the black box where the lights are encased. after you remove the stock XL rollers you will need to smooth down a few plastic posts (on the bottom of the main circuit board. i used my solder pen and just melted them down a little bit). you need to do this so the mouse plate will be as close as possible to the trackball.
Step 5.
now you have to carve/sand/cut out the trackball holder until the trackball rests on just the three bearings (carve it out good or the trackball will scrape against the side and be unsmooth).

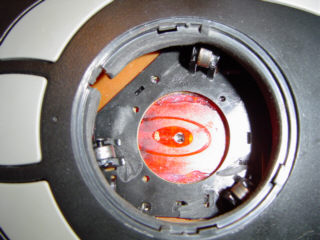
step 6.
this is an important part! take the stock trackball and work it with sandpaper. you need to put lines on the trackball so that the laser has something to track on. you must mod the trackball, the stock trackball will not work!. i used a combination of straight lines and scuff marks, then dotted it with white-out so it would embed into the scratches (hence the white splotches). I would love to get a trackball sandblasted, but i haven't gotten around to it yet.
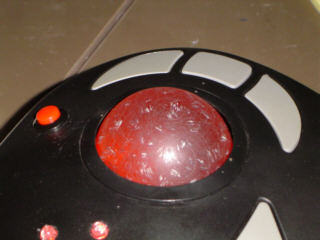
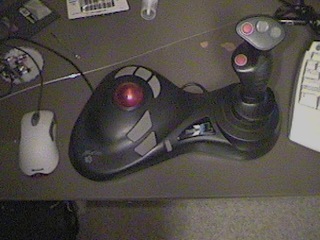
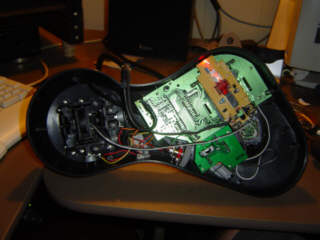
step 7.
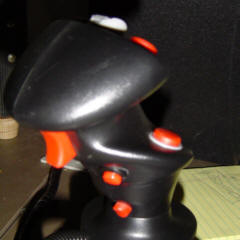
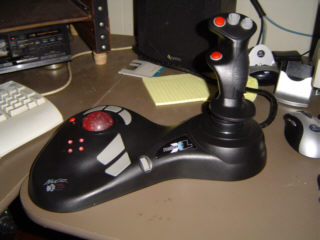
now all you have to do is put the panther back together. notice the new buttons i installed off of the mouse (mouse 1 is right above the pinky button on the handle and mouse 2 is to the left of the trackball). this is the finished product, all 19 buttons. i even reused the lights, they used to under the stock trackball. extra lights are always cool...so i installed them below the trackball using silicone to keep them in place. well there it is. it plays like a dream. and no more rollers to clean. optical precision and with 19 buttons the possibilites are endless.
dig.
derfaust "change" logo copyright © 1996 by jamie faust. All text and pictures (unless branded or otherwise specified) found on derfaust.com are owned and copyright © 2003 by jamie faust. All rights reserved.